MYOG Inflatable Sleeping Pad the First Try
Recently I managed to build a first version of my sleeping pad. In this article I will try to explain how it is designed and what the ideas behind this design are. After that, the changes I made to the design and processing will be described. At the end I will describe failures I made during design and processing.
The Design
The whole pad is designed in with three layers.
The outer two a 70den nylon which is 170g/qm, yes that is quite heavy but there was nothing else to buy.
For the inner layer I used a TPU film that is 0.06mm and 80g/qm.
In the following picture I tried to draw that.
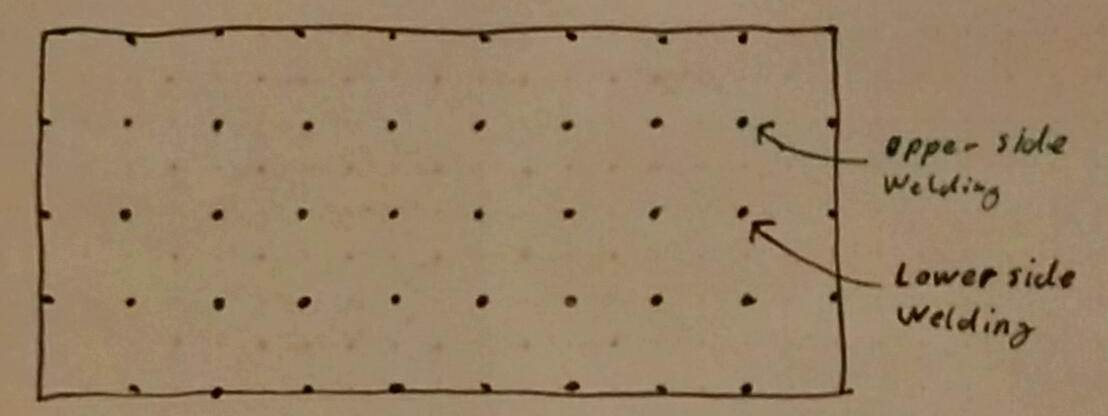
 Over the whole pad there is a diagonal grid of welding points.
The welding is only between one outer layer and the inner TPU film.
By shifting the grids of both sides by half of the grid length the pad prevents direct contact to the ground.
The next picture is another sample of my drawing skills that shows the two grids.
 Both air chambers have separate valves.
Thus, a leak in one chamber does let completely down.
The following picture shows how I the valves are sitting in the pad, it is the last hand drawing, I promise, at least for this article.
 For the insulation I decided not to use a fiber insulation, because that would add extra weight and only prevents convection.
Here the two air cambers should to a much better job with less weight.
I also decided to leave out the rescue blanket.
That makes the pad more versatile.
Also it does not make a difference whether the blanket is inside, on top, or below the pad.
Changes
The most imported change is the new 70den nylon. The lighter one I used to build my prototype had a to thin TPU film. That film ripped under pressure.
Another important change is the way I attached the valve to the fabric.
Now I simply weld it into the inner TPU film, like shown in the picture below:

Building the Pad
To build the pad I started with drawing points, approximately 600 of them. These point are the welded later on. To get the grid a exactly as possible I used a template to draw them. Anyway, mine was a bit small and the grid was not as aligned as supposed.
After drawing point I started welding one of the outer layers to the inner layer.
It took me several hours.

For the next layer is important to prevent to weld all three layers together.
So I slid baking paper strips between the layers I already welded to ensure that.
 Having the stripes in position I welded the third layer onto the inner one.
To ensure the air tightness of the pad it is important to do the edges well.
I used a shirt press to have a stable temperature and pressure.

Failures
Well … :
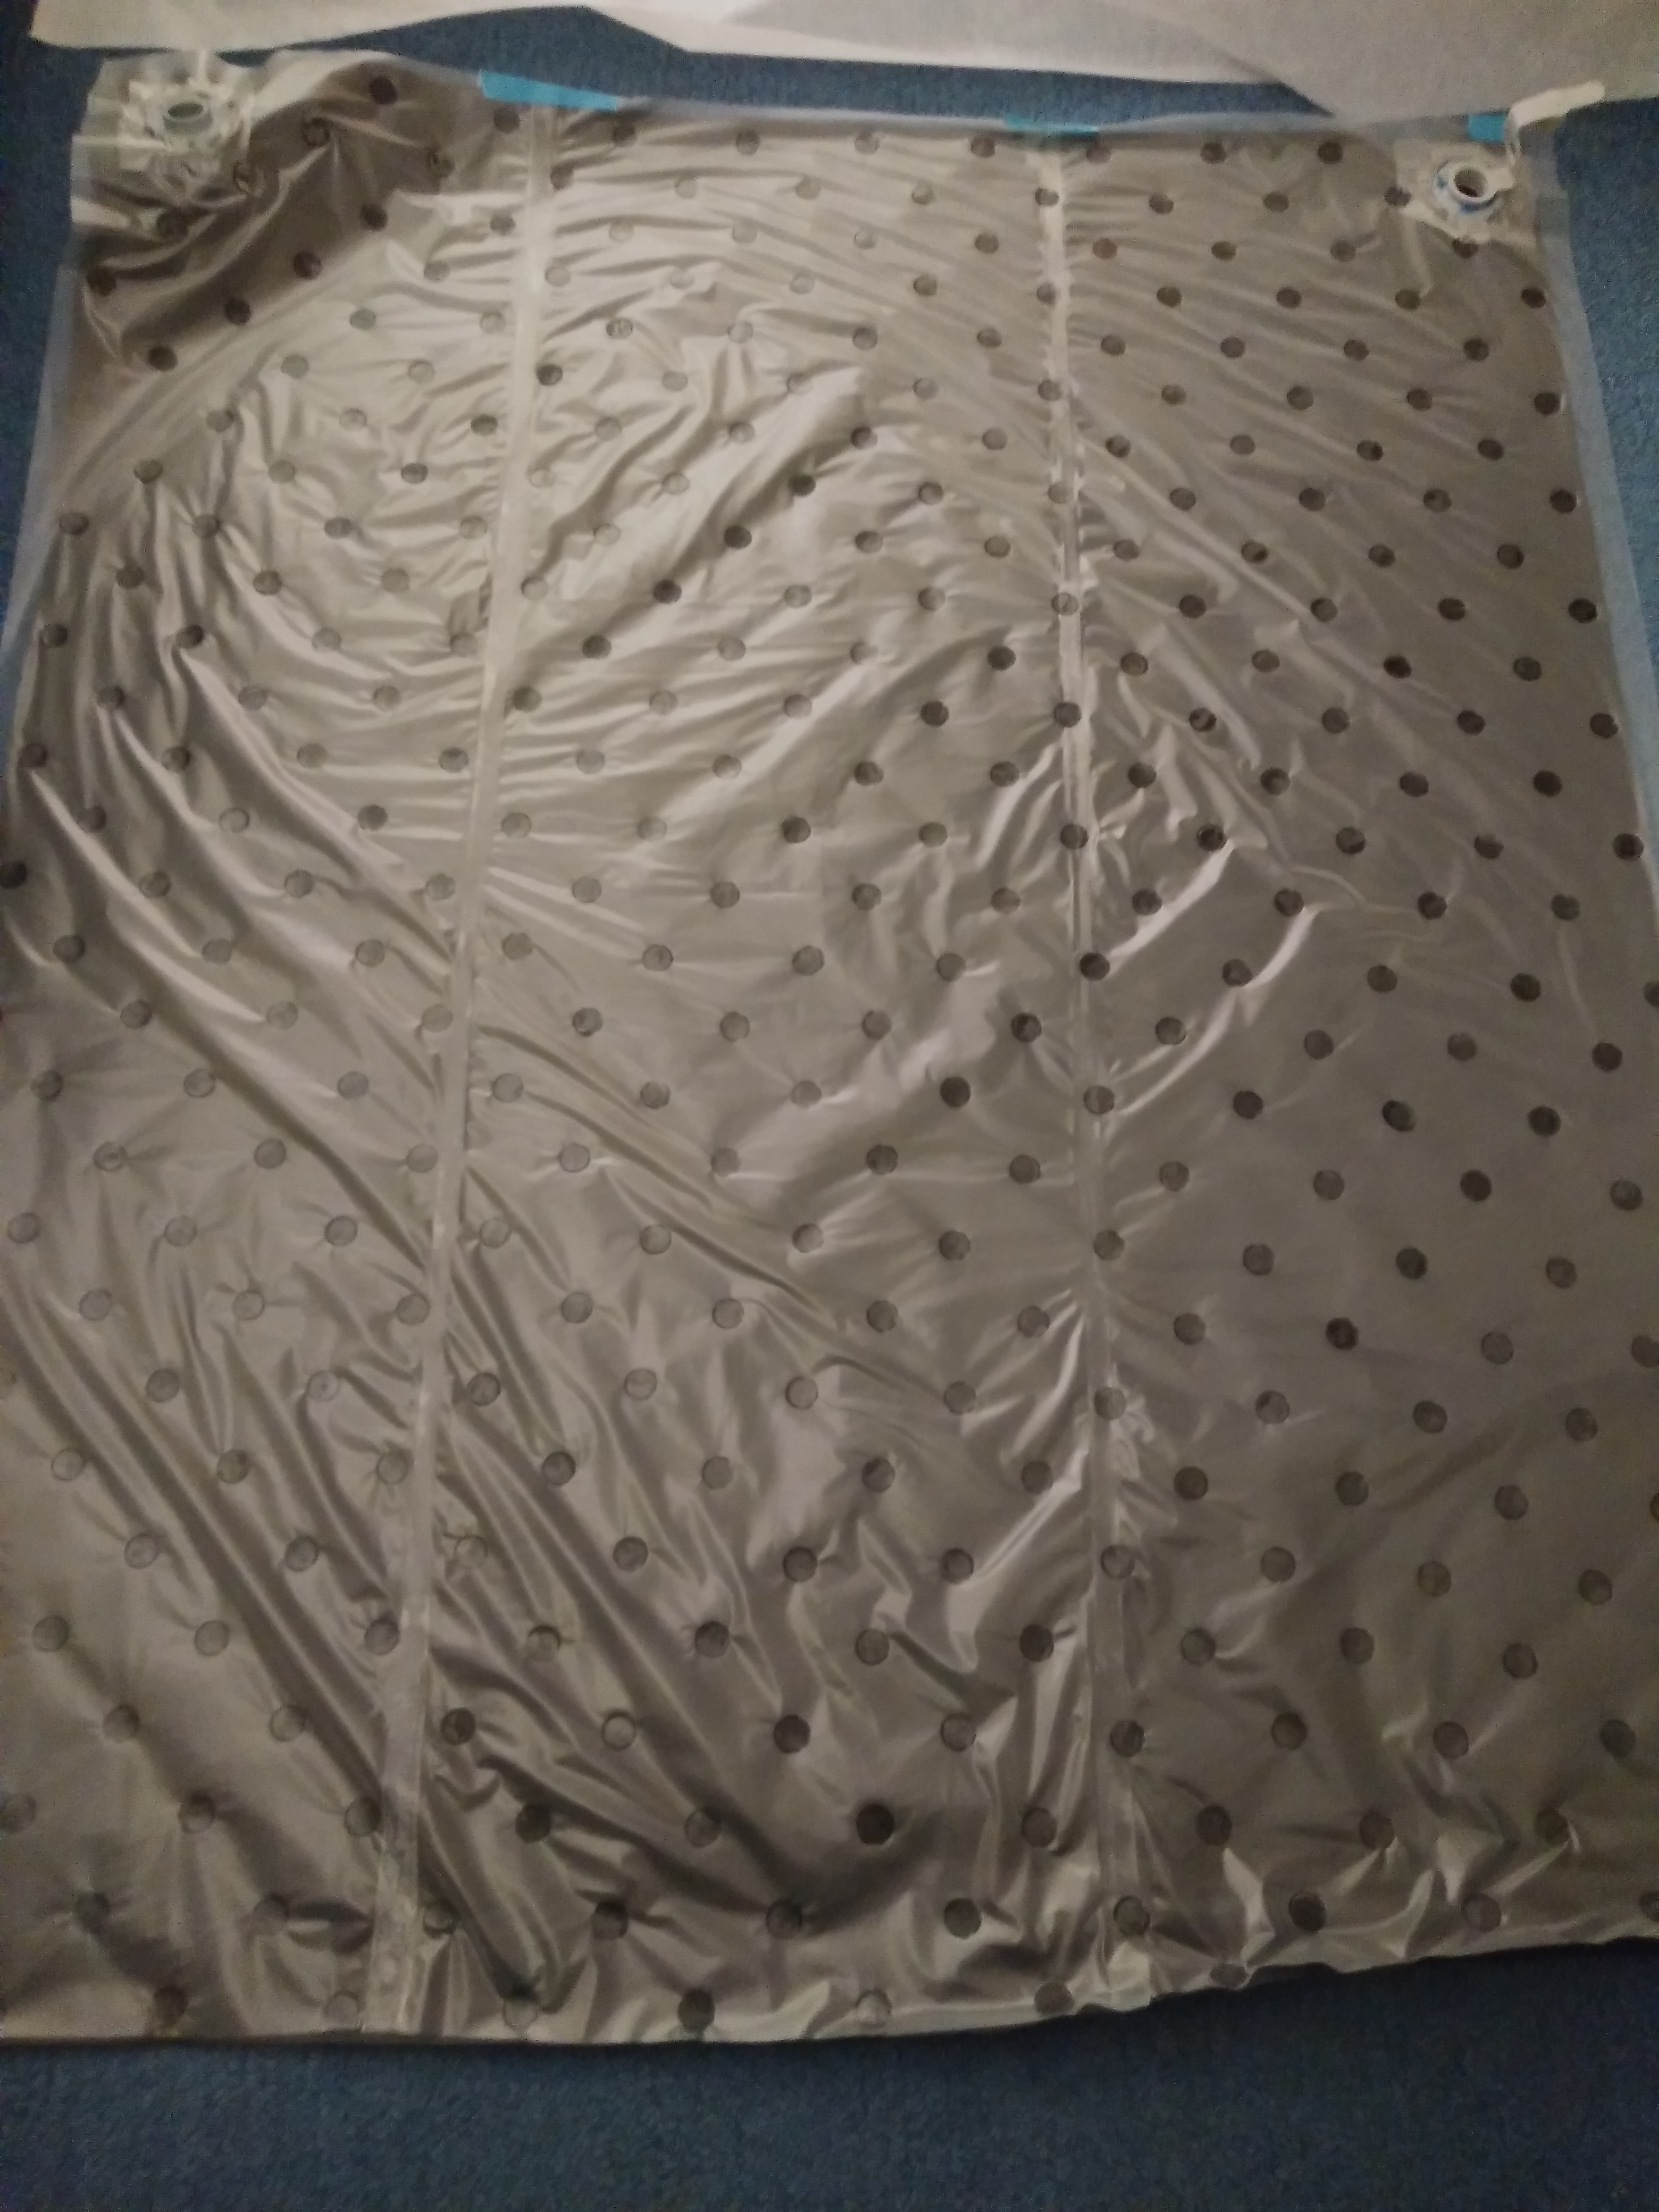
 That pillow you see in the upper corner was not supposed to be there.
The problem was the welding temperature of the grid.
It was not stable enough and so some of the points tend to open.
After one point opened the pull on the others gets higher and the chain reaction is stared.
The lesson I learned: It is possible to build your own inflatable sleeping pad. But I need a solder iron with a higher thermal mass to have a more stable welding temperature.