MYOG Inflatable Sleeping Pad Prototypes
Here I give a summery of my fails and breakthroughs during the construction of our inflatable sleeping pad.
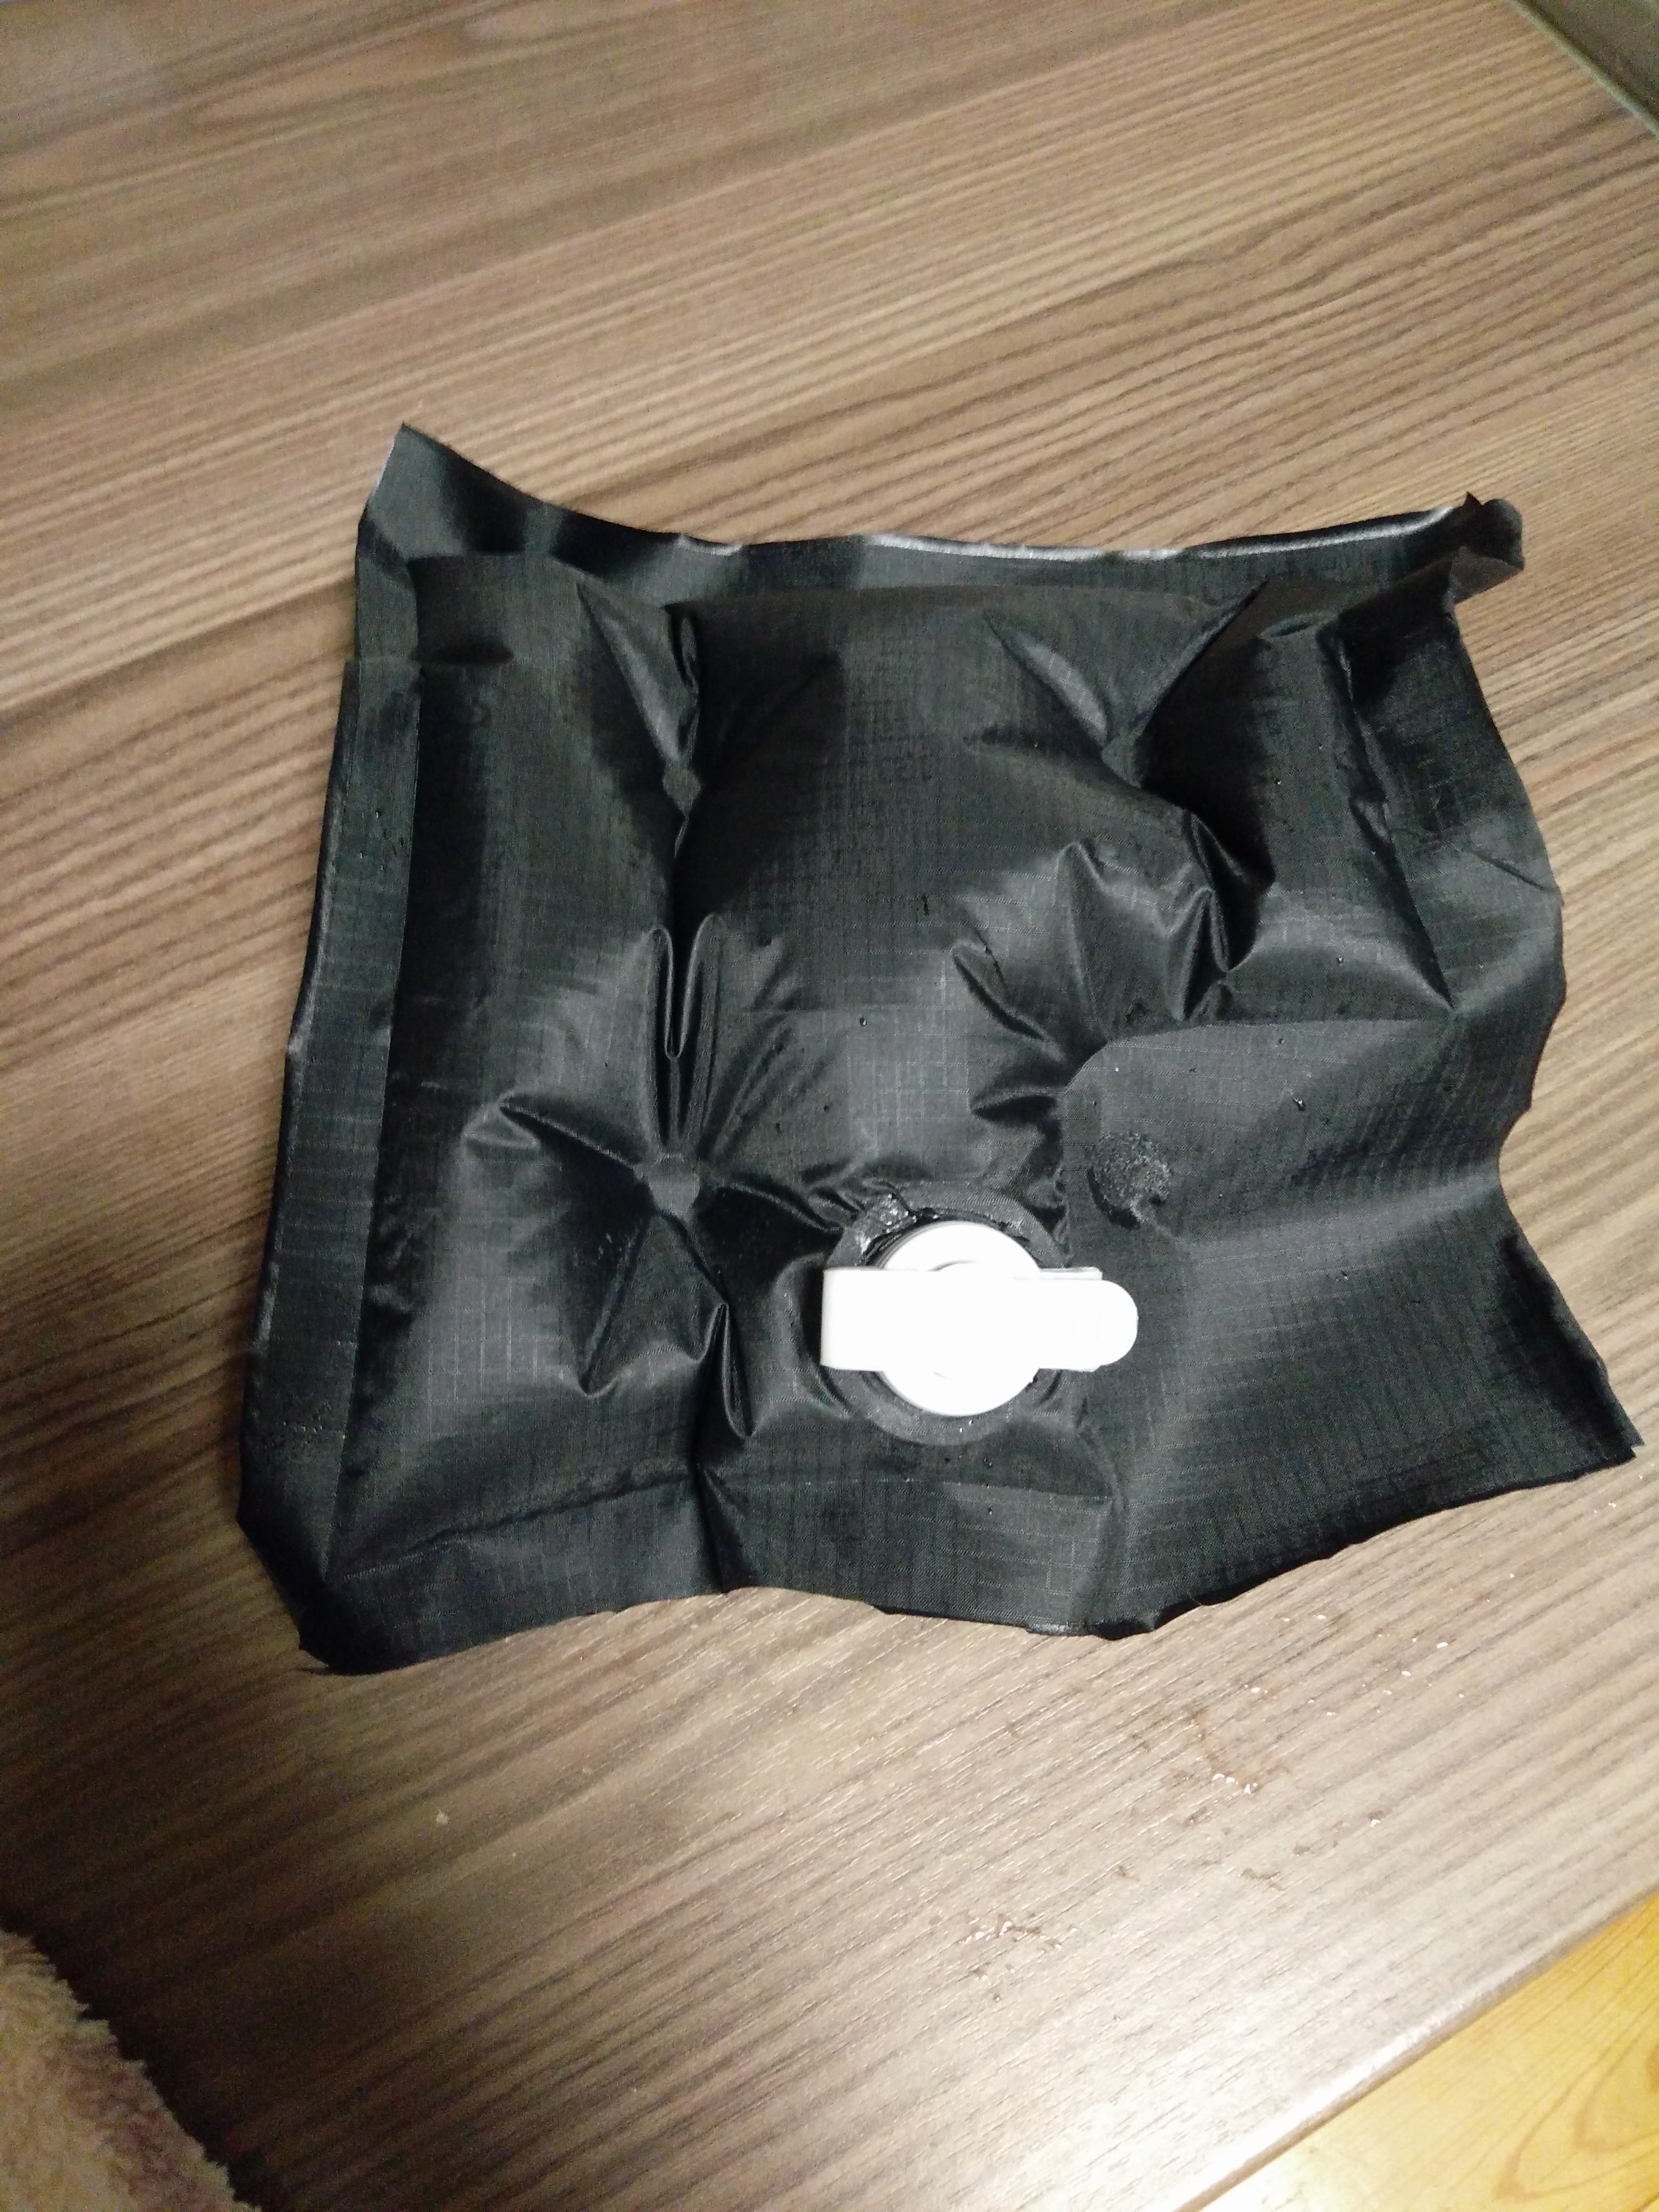
The following picture shows my first prototype, which actually was not airtight at all.
Why, I will show later in this post.
The material I used is a 40den Ripstop-Nylon with a TPU-film. I choose TPU because it is heat weldable, that makes airtight seams possible. Another reason was that all manufactures are using TPU for their sleeping pads. Also you can buy this material at extremtextil. Other parts of a sleeping pad a more complicated to get, especially the valve.
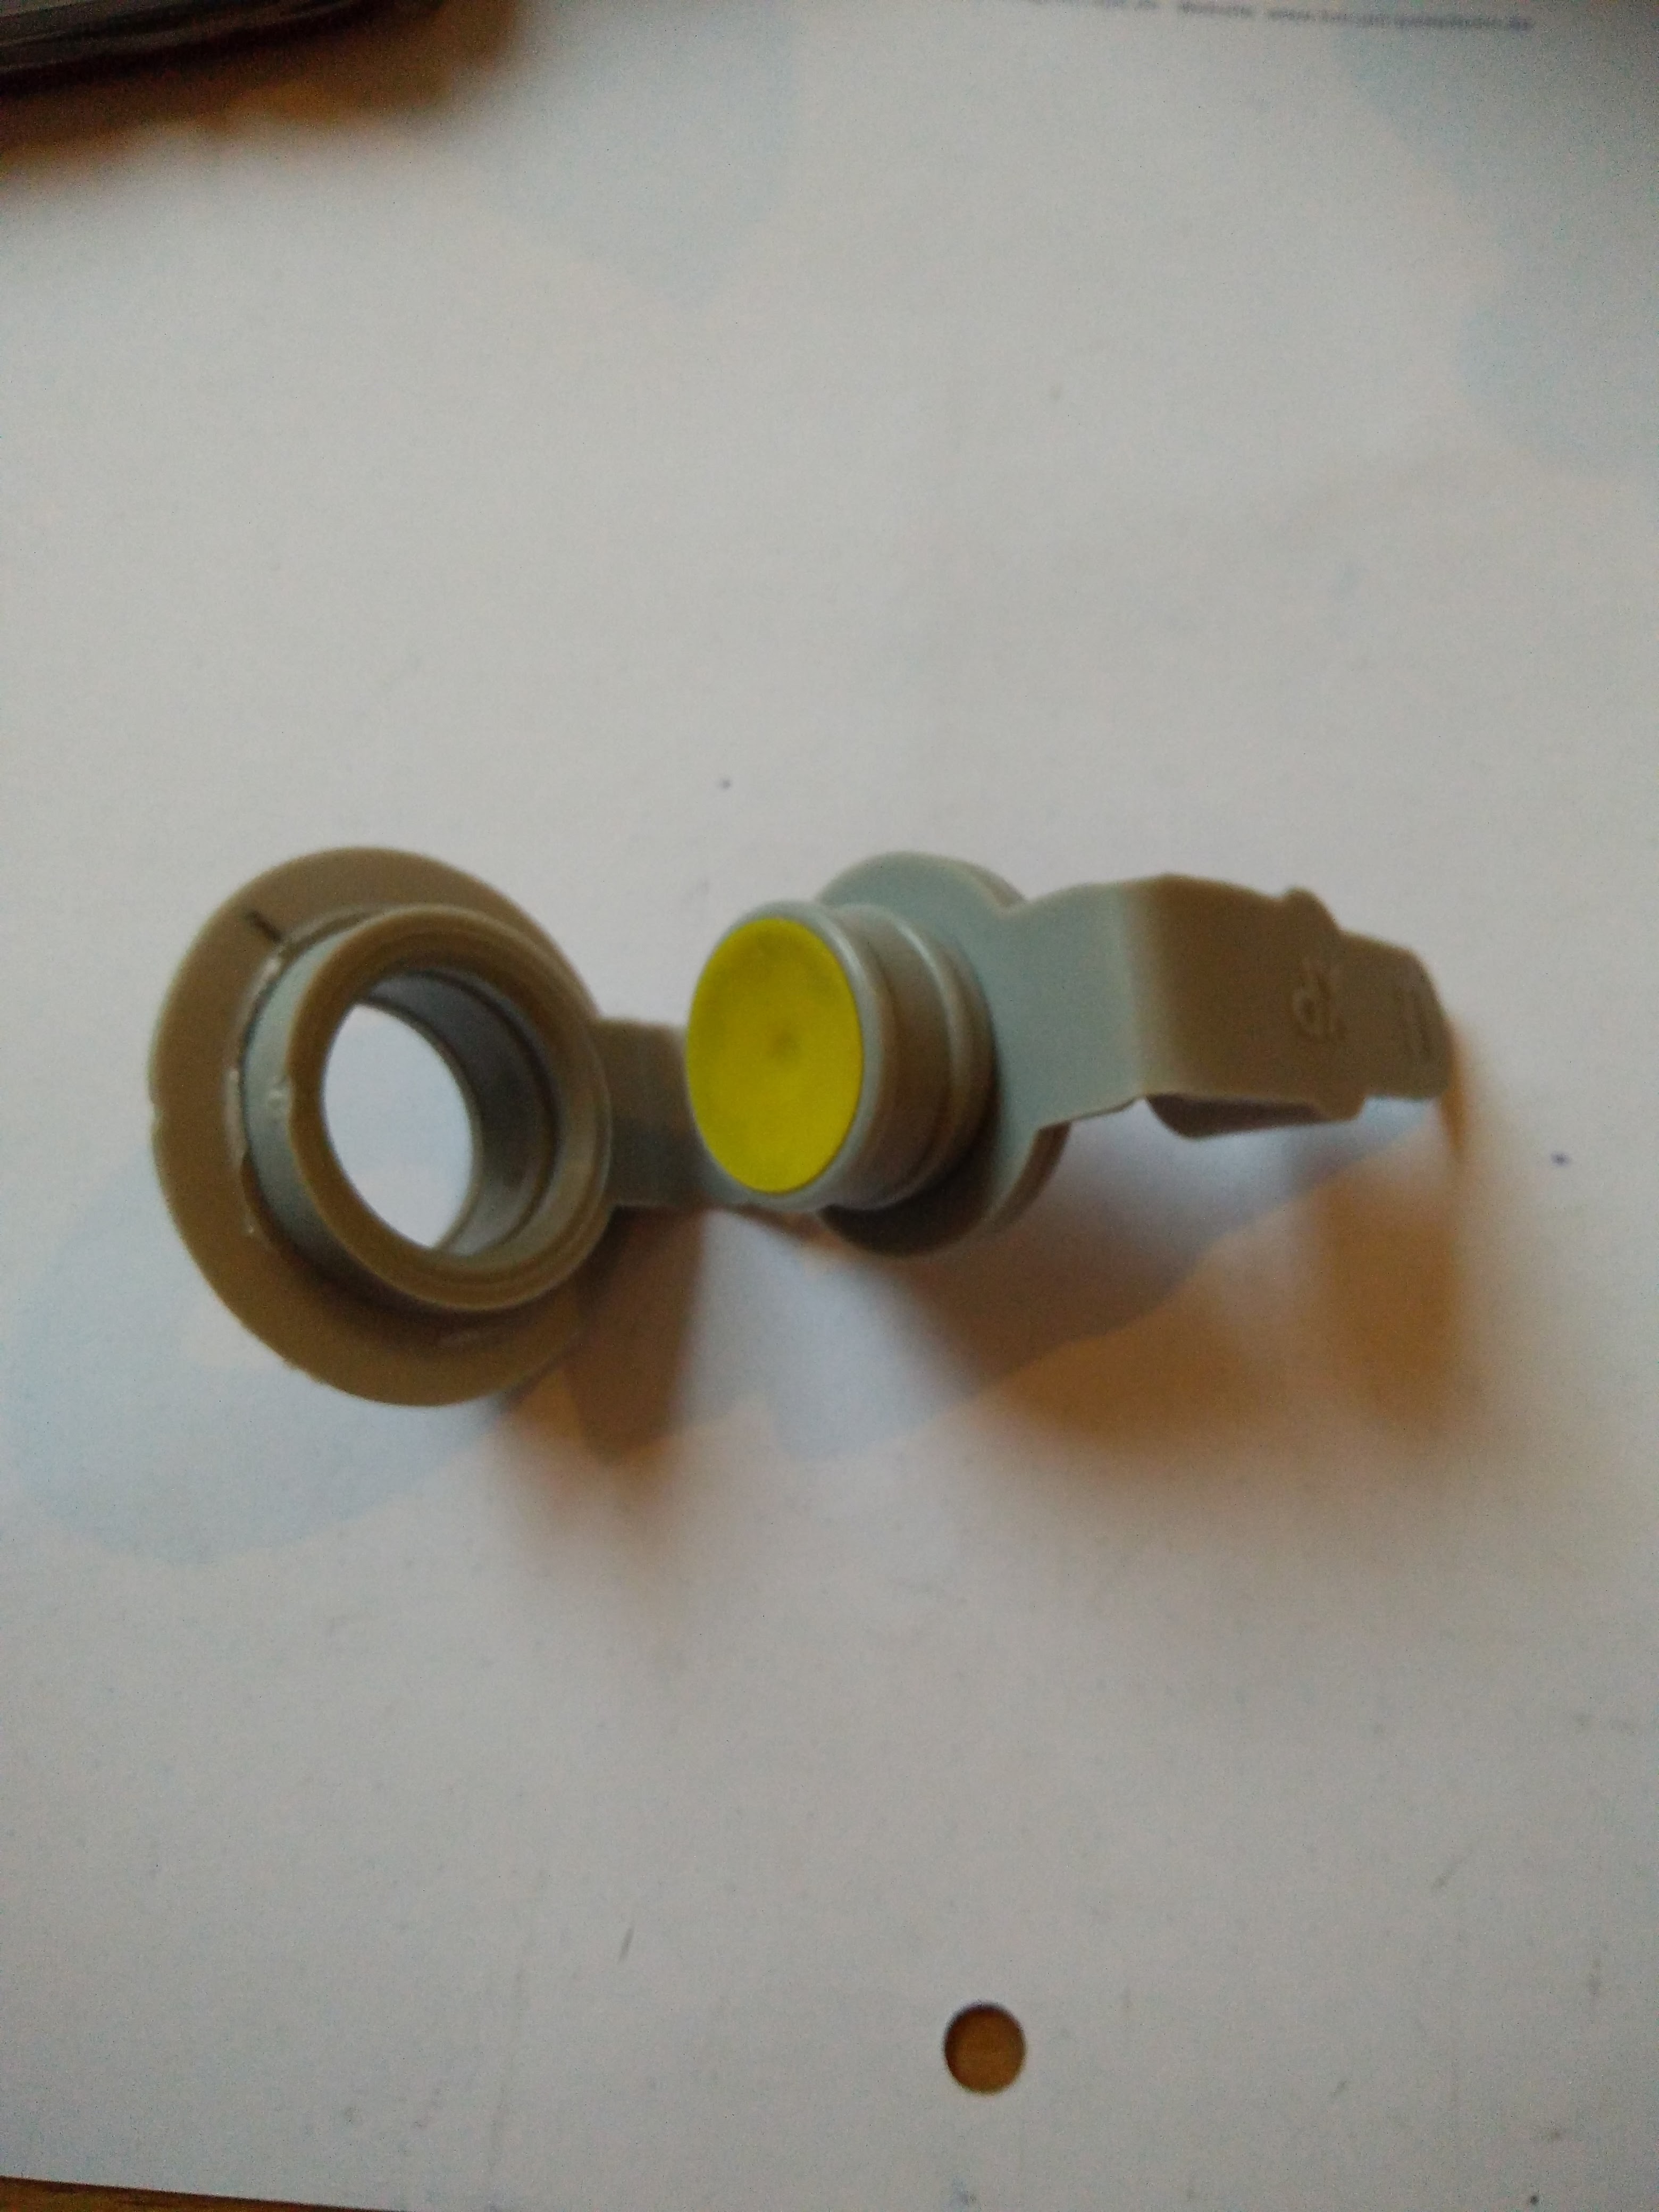
How to get and handle the valve?
For me it was the easiest and cheapest to by an inflatable pillow form a Chinese manufacturer for ~9€.
 From that I just cut and ripped off the valve to end of with this:
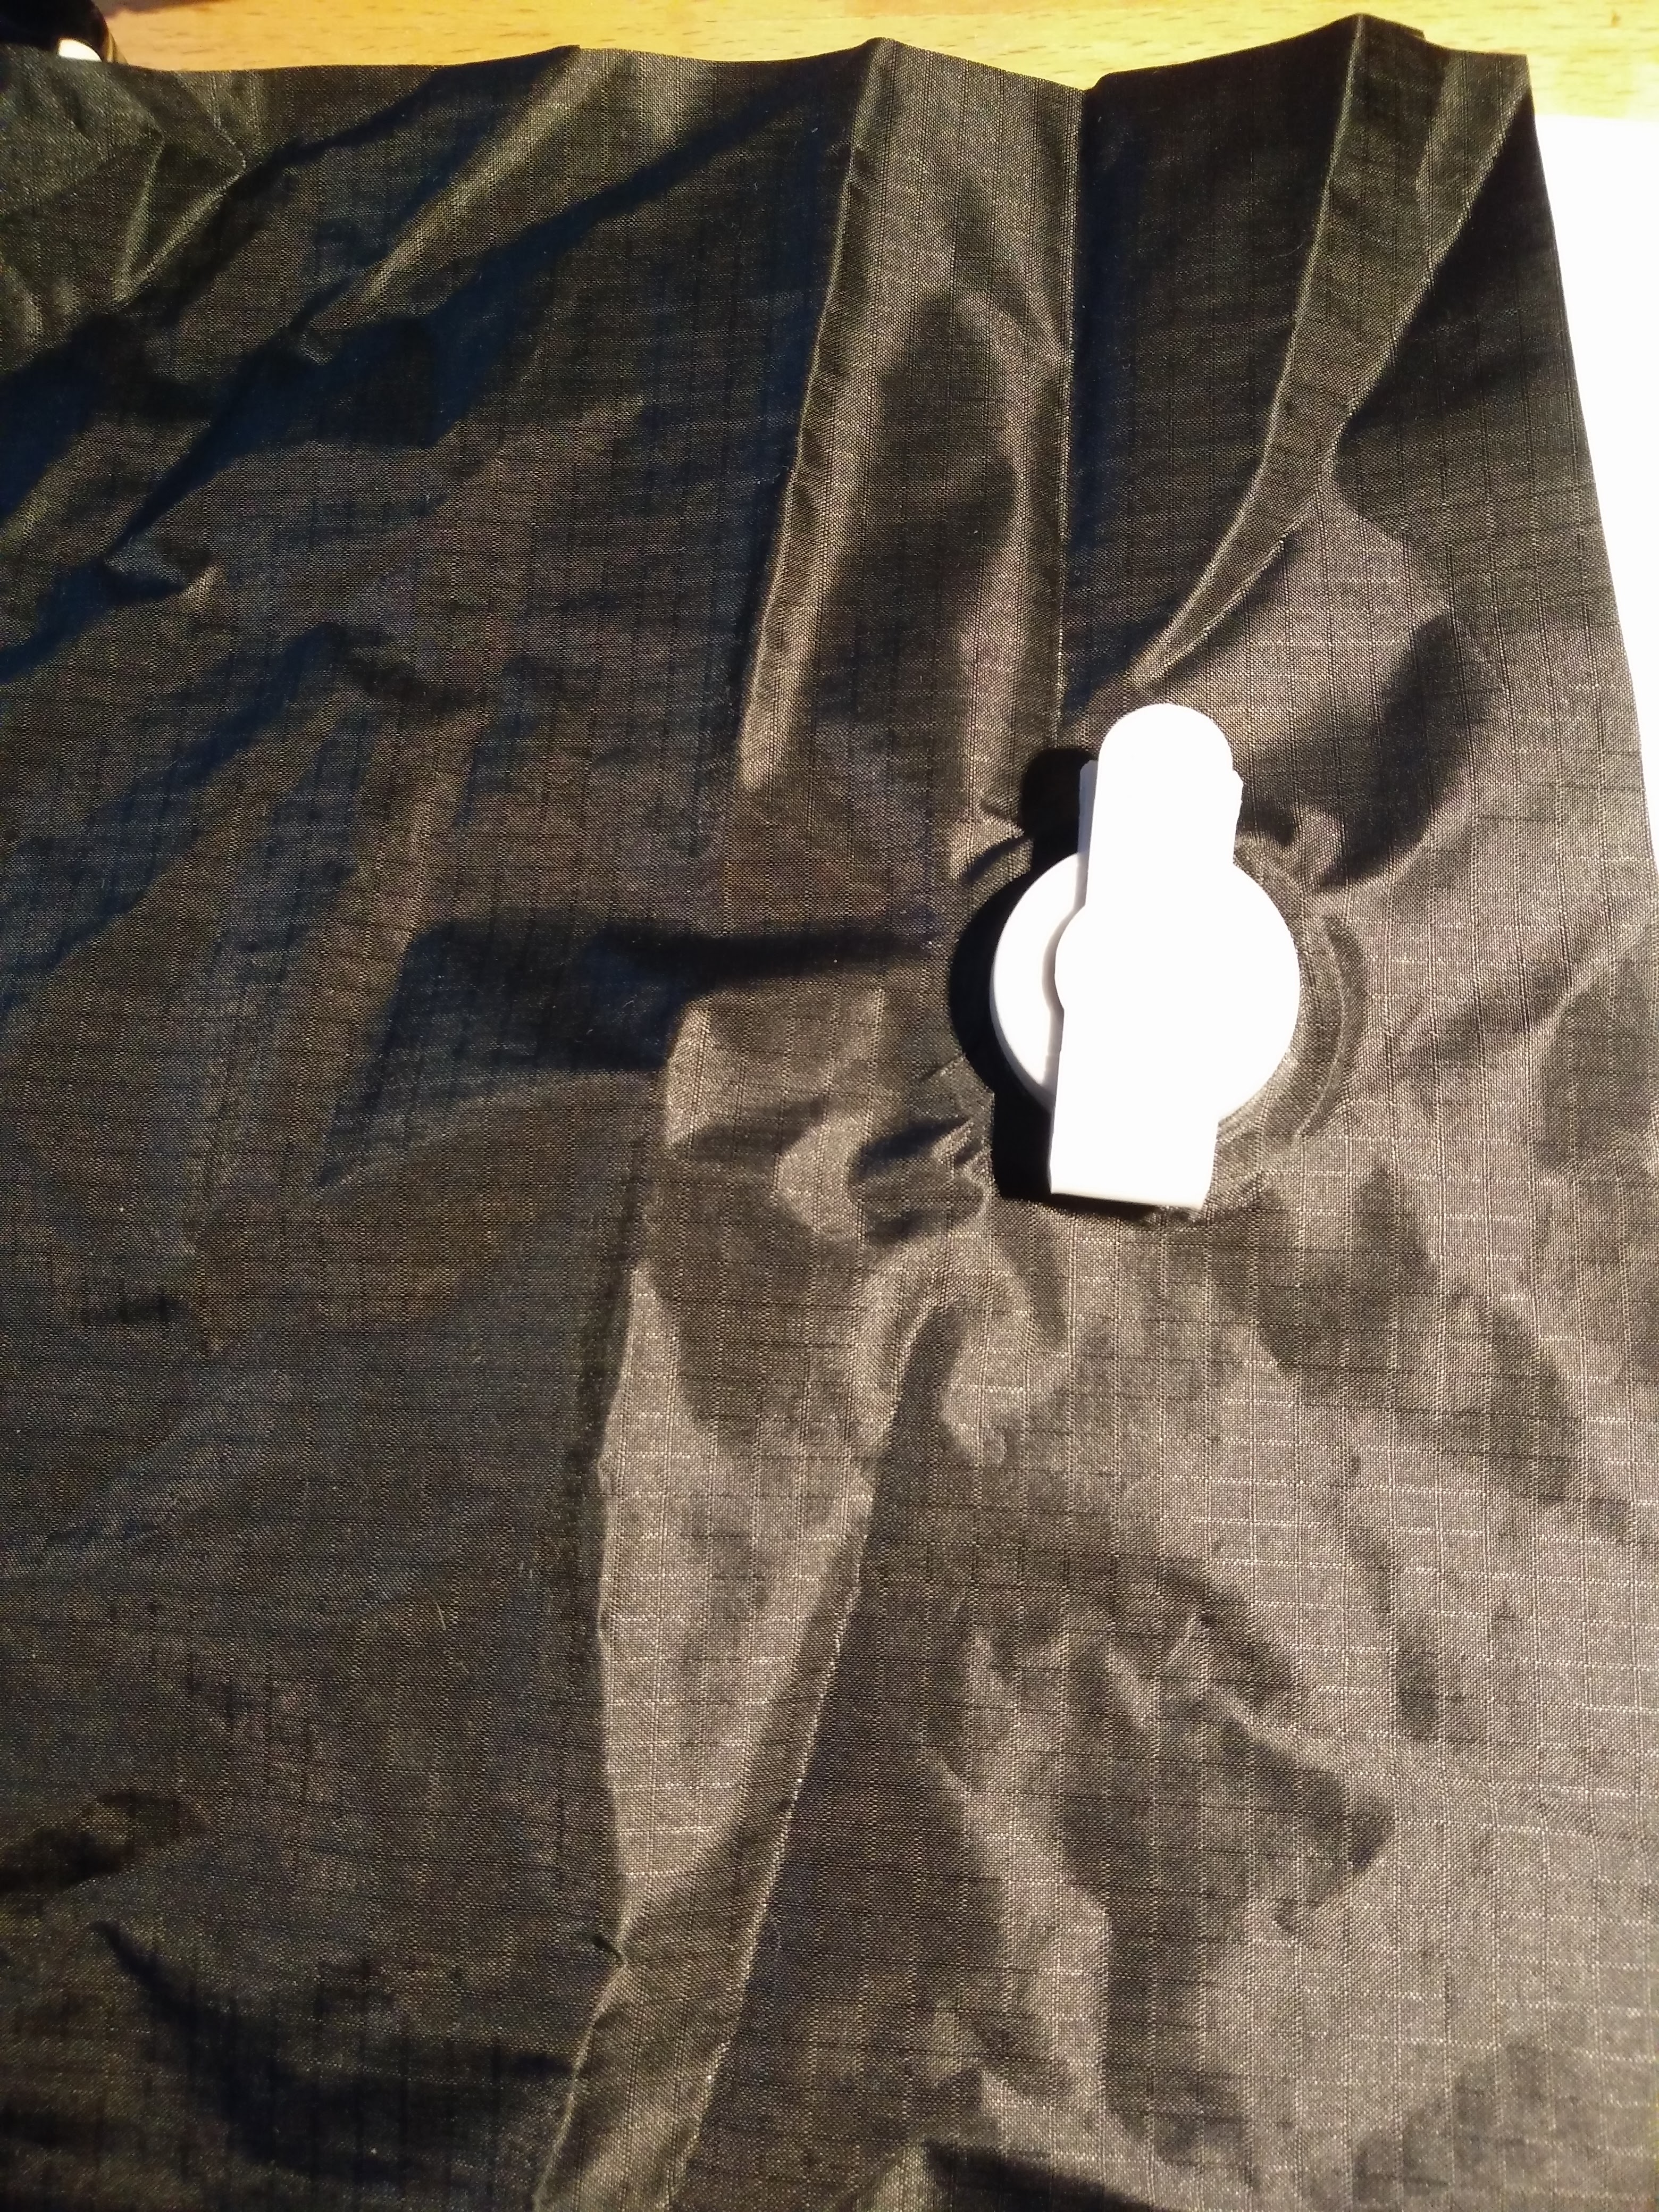
After I had the valve I just cut a hole of the right size into the TPU coated fabric and glue it in with “Pattex Classic”.
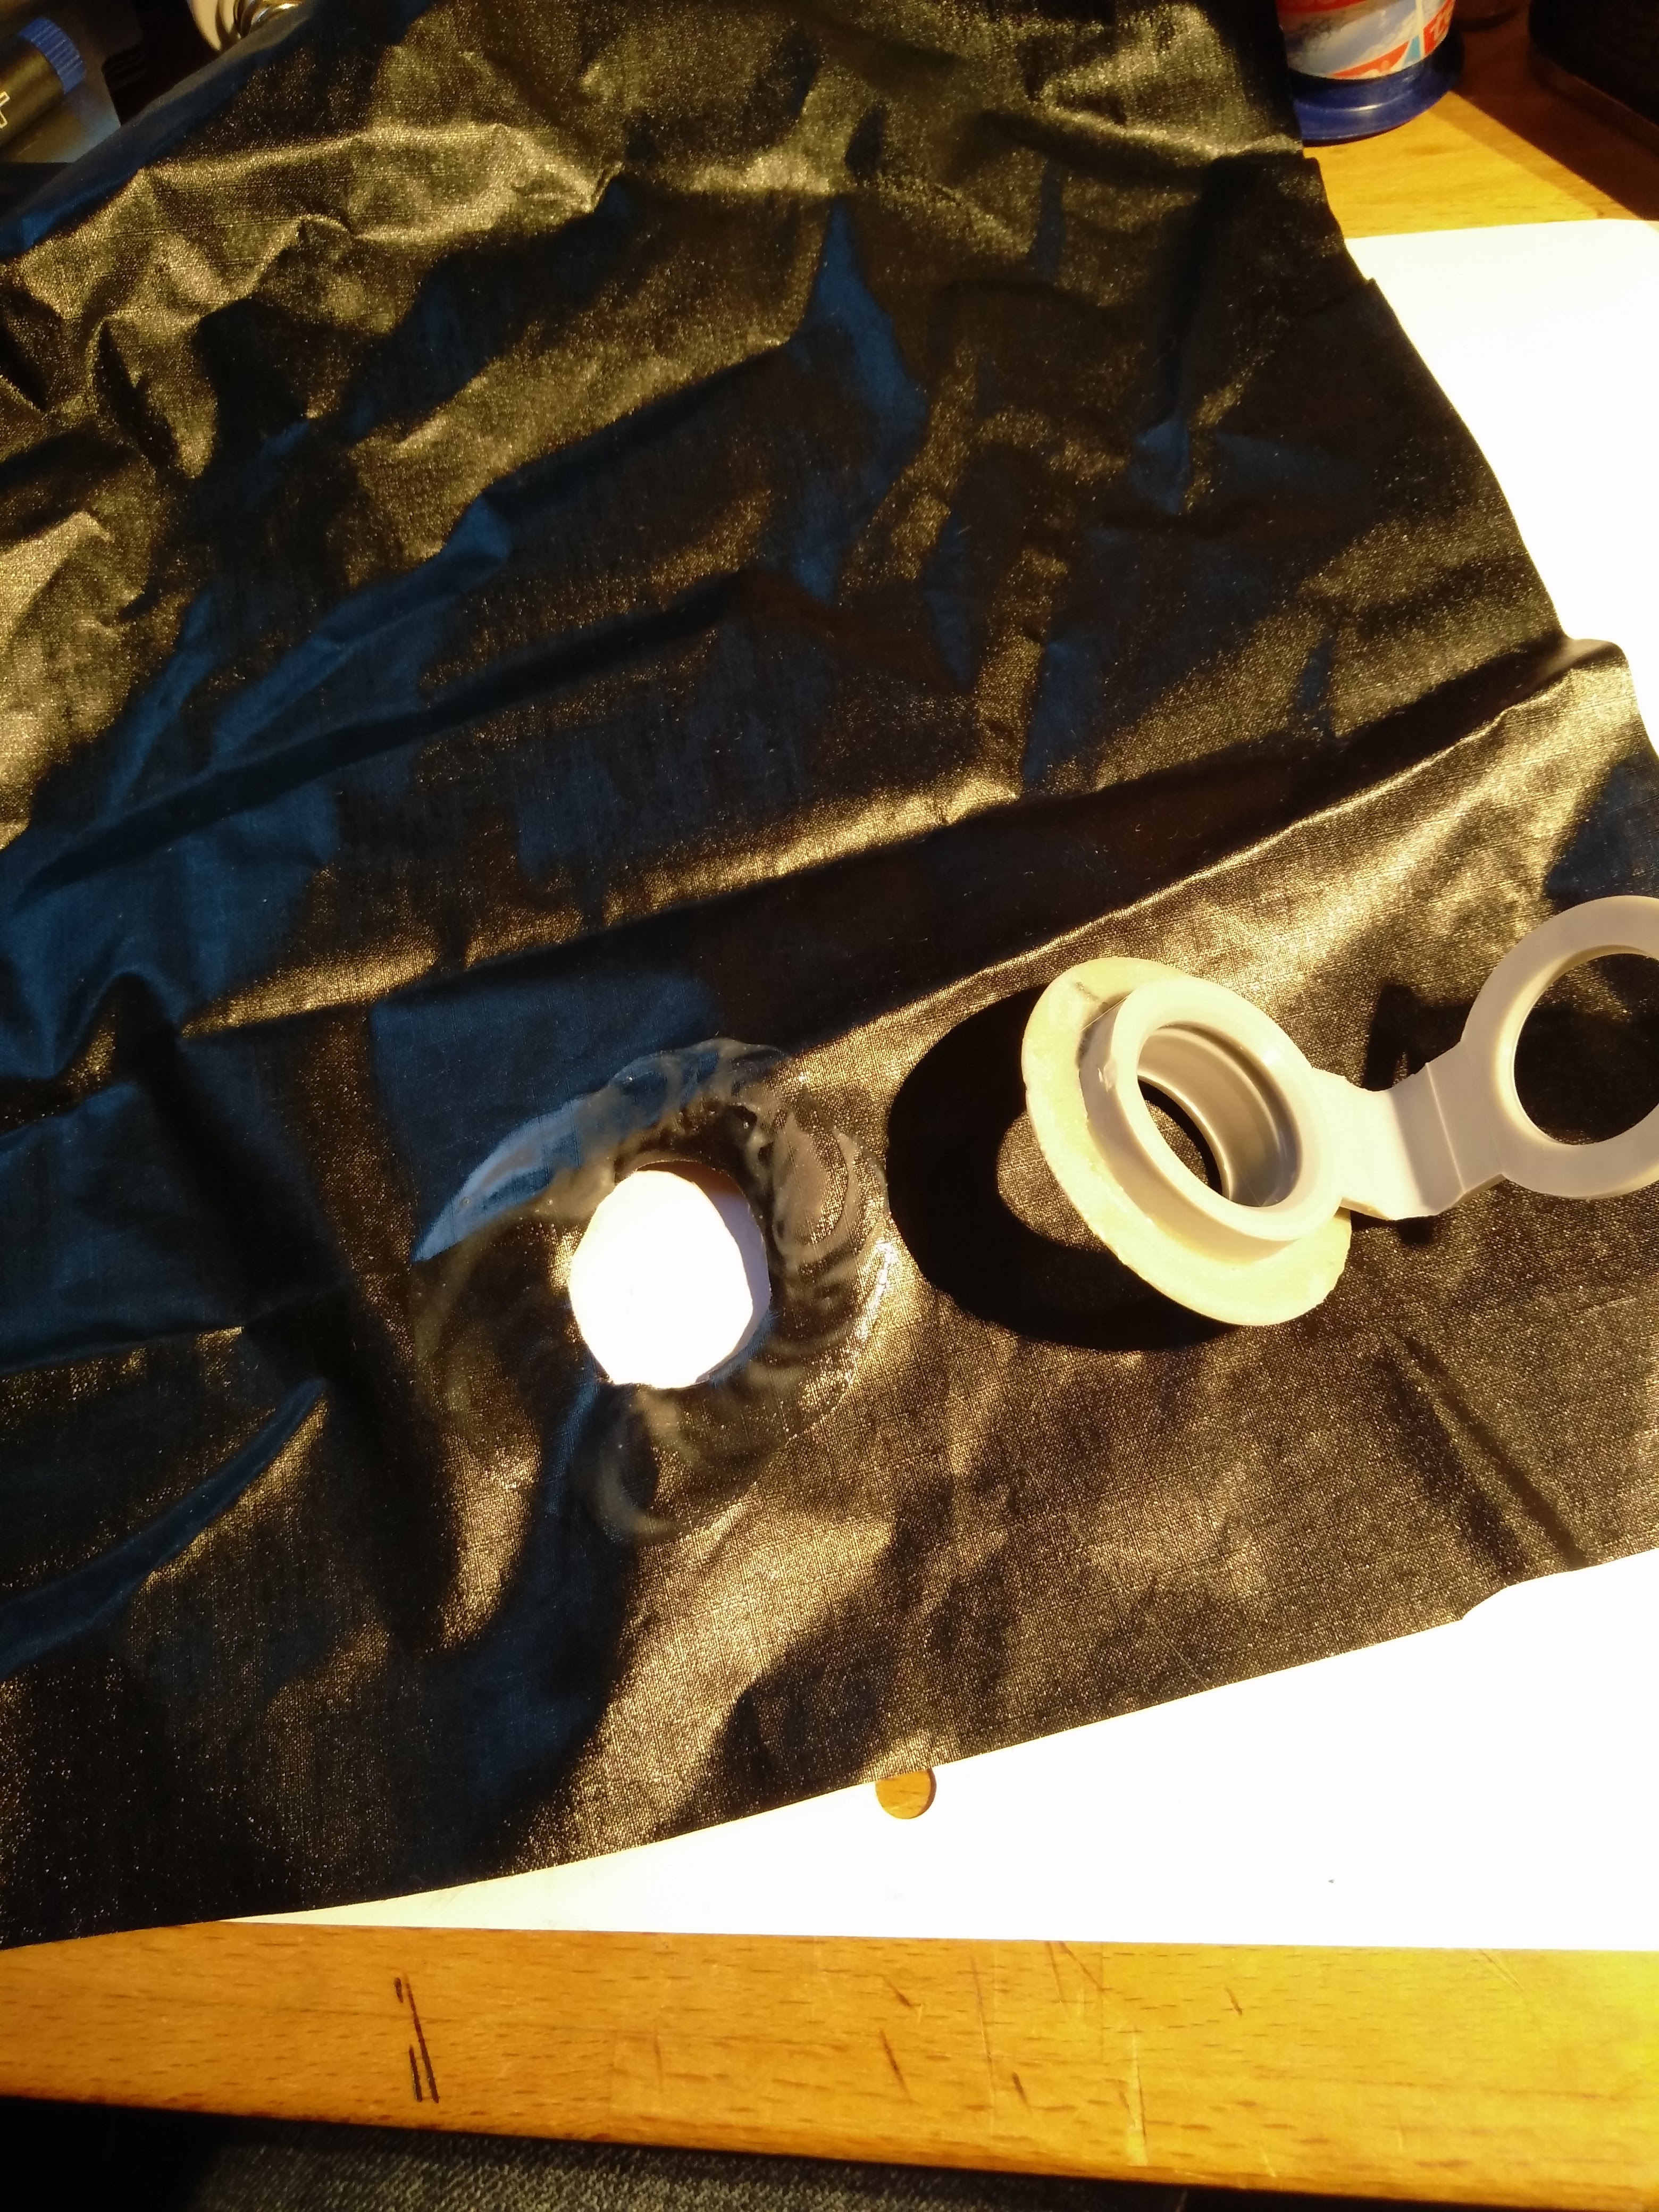 This is quite easy and seems to be airtight.
A long term test is needed to verify this.
This is quite easy and seems to be airtight.
A long term test is needed to verify this.
Heat welding
As TPU is heat weldable the question is how to do this. I found this Thread, where Ryan Smith presets his MYOG inflatable sleeping pad. He proposes a to use a household iron or a impulse sealer. The impulse sealer is a costly device and it is hard to find one meeting the requirements of this project like seams of ~1m. So I tried the iron, turns out it is not that easy to get reproducible results. But with some practice it is possible. I was lucky and found one of this heat presses used to transfer images to textiles. With that heat press I can set a defined pressure, temperature and duration of welding. But this device can only be used to weld the outer seams.
Since our design is inspired by sea to summits air sprung cells I needed to find a way to make round weld points.
I came up with the idea of making some sort of punch for a solder iron.
The two punches in the picture below are made of bolts, after some testing I polished them because they tended to damage the fabric.
Now they are working fine.
When you are using a solder iron you need to be careful with the temperature.
I used 160°C for about 15s for both, the solder iron and the heat press.
If you can not set the temperature of your solder iron I wound not recommend to use it.
You might end up with something like this:
Isolation
To increase the isolation of our sleeping pad I plan to use rescue blanket.
 I hope it is not to noisy but this is something I need to find out.
For this prototype I just glued it onto one of the fabric layers so it does not slide while working on the prototype.
I hope it is not to noisy but this is something I need to find out.
For this prototype I just glued it onto one of the fabric layers so it does not slide while working on the prototype.
Why is it not airtight?
Well for now I thing the TPU film on the fabric is to thin and it ripped when the prototype was squeezed.
The result in shown below:
For the next prototype I will get fabric with a thicker TPU film.